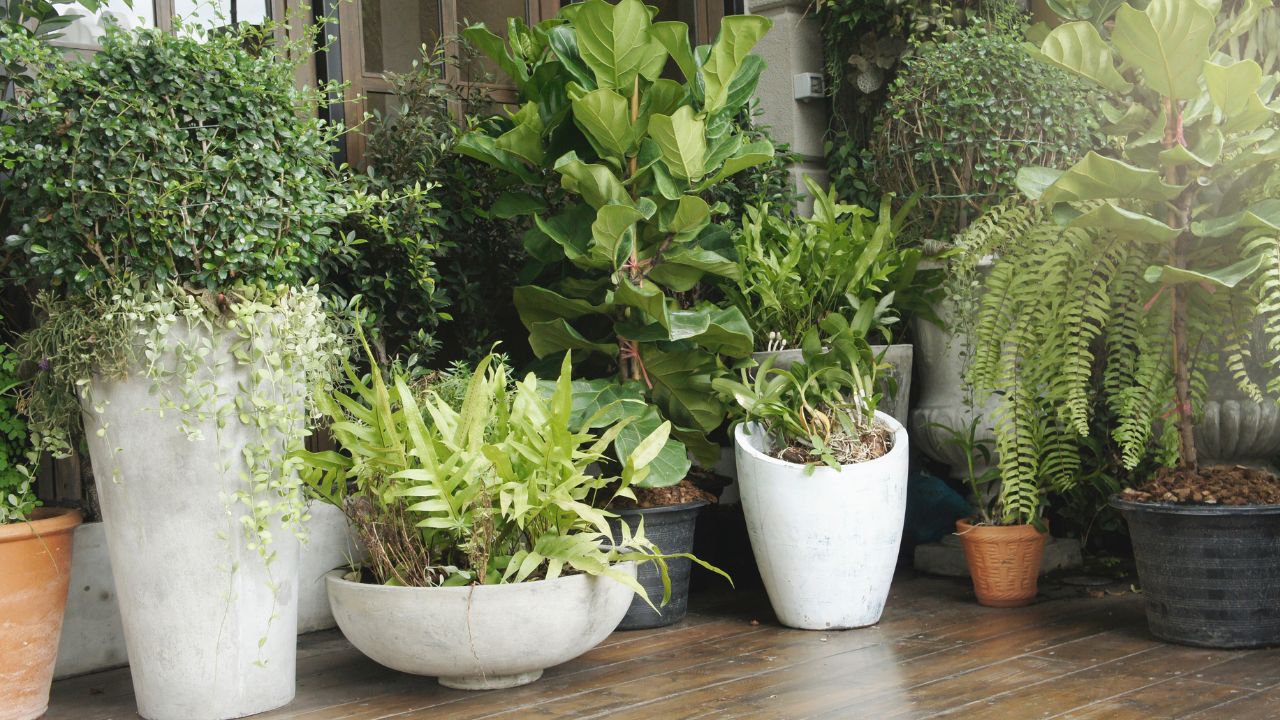
GETTING READY FOR COOLER WEATHER
How to Safely Transition Your Outdoor Plants Indoors for Winter
As the warm embrace of summer wanes, it's time to consider the return of your outdoor plants to the cozy shelter of your home. But wait, there's a catch – how do you ensure a smooth transition without inadvertently inviting a plethora of bugs inside? Fear not, for I'm here to guide you through the process of debugging your plants before bringing them indoors for the winter, step by step.
The Transition: When to Bring Your Plants Inside– STEP-BY-STEP
First things first, timing is crucial when it comes to relocating your outdoor companions indoors. Don't leave this transition until the last minute, as it can be stressful for both you and your plants. Here's what you need to know:
Ideal Timing: Plan to start this process several weeks before chilly weather sets in. A sudden change from the great outdoors to the controlled environment indoors can shock your plants.
Avoiding Leaf Drop and Chill: Prolonged exposure to cold conditions can cause your plants to lose leaves or, worse, die. To play it safe, aim to move them inside at least two weeks before your region's average first frost date.
The Gradual Approach: If you have a sizeable outdoor plant family, consider bringing them in batches. A marathon debugging session can be physically taxing, trust me.
Pot-Bound Predicaments: For plants that have outgrown their pots, give them a new, roomier home before relocating them inside. It's less messy to repot them outdoors.
The Perils of Unwanted Guests: Debugging Your Plants
Now, let's tackle the essential task of debugging your outdoor plants to prevent unwanted hitchhikers from invading your indoor sanctuary. Here's a straightforward step-by-step guide:
Supplies You'll Need:
- A large utility tub
- Mild liquid soap
- A large kitchen strainer
- A flower pot scrub brush
- A spray bottle
- Neem oil
- A wash bucket
- Old towels
Step 1: Soapy Soak: Fill a large utility tub with tepid water and a wash bucket with warm water, adding a few squirts of mild liquid soap to each. It's crucial to use a soap that's gentle and lacks degreasers or detergents, as these can harm sensitive plants.
Step 2: Submerge and Soak: Dip your plant, pot and all, into the soapy water for about 15-20 minutes. This bath will effectively eliminate bugs residing on the plant or in the soil.
Step 3: Spotless Leaves: If some leaves aren't submerged, use an organic insecticidal soap to clean them. You can prepare your own by mixing 1 tsp of mild liquid soap per liter of water in a spray bottle, or purchase a premade organic insecticidal soap.
Tip: Debris and dead leaves will float to the water's surface when you immerse the plants. Remove them using a wide kitchen strainer before taking your plants out of the tub.
Step 4: Scrub the Pot: After the soak, give the pot a good scrub with a brush. Ensure it's clean and free from any lurking critters.
Step 5: Rinse Thoroughly: Rinse both the plant and the pot meticulously with a hose to eliminate any remaining soap and dirt.
Step 6: Let It Drain: Set your freshly scrubbed plants aside, allowing them to drain completely before reintroducing them to your indoor haven.
Step 7: Repeat as Needed: Remove any floating debris from the water and use the same process for the next batch of plants.
Step 8: The Homecoming: Once your plants are pest-free and sufficiently drained, it's time to bring them indoors. Let the soil dry out before watering to avoid overhydration.
Benefits of the Soapy Soak: Besides saying farewell to bugs, this method offers other perks. Your plants receive a good watering before coming inside, saving you the hassle of watering them individually indoors. Additionally, the soak makes it easy to dispose of floating debris, leaving your plants and pots sparkling clean.
Plants Too Large to Soak? No Problem!
For those oversized outdoor plants that can't fit into a tub, don't worry. There's a modified method for you:
Wash the plant's leaves and stem thoroughly with soapy water.
Rinse everything off using a garden hose.
Finish by spraying the entire plant with neem oil (be sure to test any spray on a few leaves if your plant is sensitive).
A Word on Pest Control
Despite your meticulous efforts, plant pests can still emerge once inside. Tackling Mealybugs, in particular, are notorious for their resilience. If you spot any pests, try a neem oil solution or an organic horticultural oil. Yellow houseplant sticky stakes work wonders for flying pests like fungus gnats and whiteflies. Opt for these natural pest control methods over synthetic chemicals for a healthier home environment.
By following these steps, you can ensure a smooth transition for your outdoor plants, free from the unwanted baggage of indoor pests. Your green companions will thank you with their vibrant and pest-free presence all winter long. Happy gardening!


