Have a ZZ plant that seems content to just...exist? Want to multiply its beauty and air-purifying magic?
Here are the secrets to successful ZZ plant propagation, including:
- 3 Easy Methods: Stem cuttings, leaf cuttings, and division.
- Step-by-Step Instructions: Clear instructions for every step.
- Expert Tips: Boost growth and avoid common pitfalls.
Ready to grow your ZZ plant family? Let's get started!

Part 1. Optimal Conditions for Propagating ZZ Plant
The ZZ plant thrives with minimal care. It prefers low to moderate light and well-draining soil. Water only when the soil is dry to avoid root rot. Keep it between 60–75°F and away from cold drafts or direct heat.
Step 1- Ideal Light for Healthy Growth
Minimal to moderate illumination is ideal for the plant ZZ. To keep the leaves from getting burnt, keep them out of the sun. Indirect light helps it grow without harm.
Step 2- Best Soil for Strong Roots
For optimal growth of plant ZZ, the soil must be permeable. A combination of perlite or coarse sand with potting soil will provide the greatest drainage. To avoid root rot, this mixture maintains healthy roots and stops water from pooling.
Step 3- Watering Tips for Optimal Health
Water the plant only when the soil is dry. Don't water too much. Keep the plant healthy. In winter, water less as the plant's growth slows.
Step 4- Maintaining Temperature and Humidity
Maintaining ideal temperature and humidity is essential for the ZZ plant. Indoors, they do best with a moderate amount of humidity, though they can manage with less. Avoid placing them near cold drafts or heating vents.
Fulfill these requirements for the healthy growth of your ZZ plant. Wondering how to care for this plant properly. Let’s discuss it.
Step 5- Ideal Season for ZZ Plant Propagation
ZZ plants can be propagated year-round indoors. However, the best outcomes occur during their active growth period. This usually happens during the spring and summer months. The plant has more energy to develop roots and new shoots during these seasons.
Propagating during this time ensures quicker and healthier growth. If you try in the fall or winter, progress may slow since the plant is less active. Choose a warm, bright spot for best results and moisten the soil. This increases the chances of successful propagation.
Next, let’s look at how to propagate the ZZ plant.
Part 2. Propagate Your ZZ Plant: 3 Effective Ways
Before moving to the 03 effective methods, look at the required equipment.
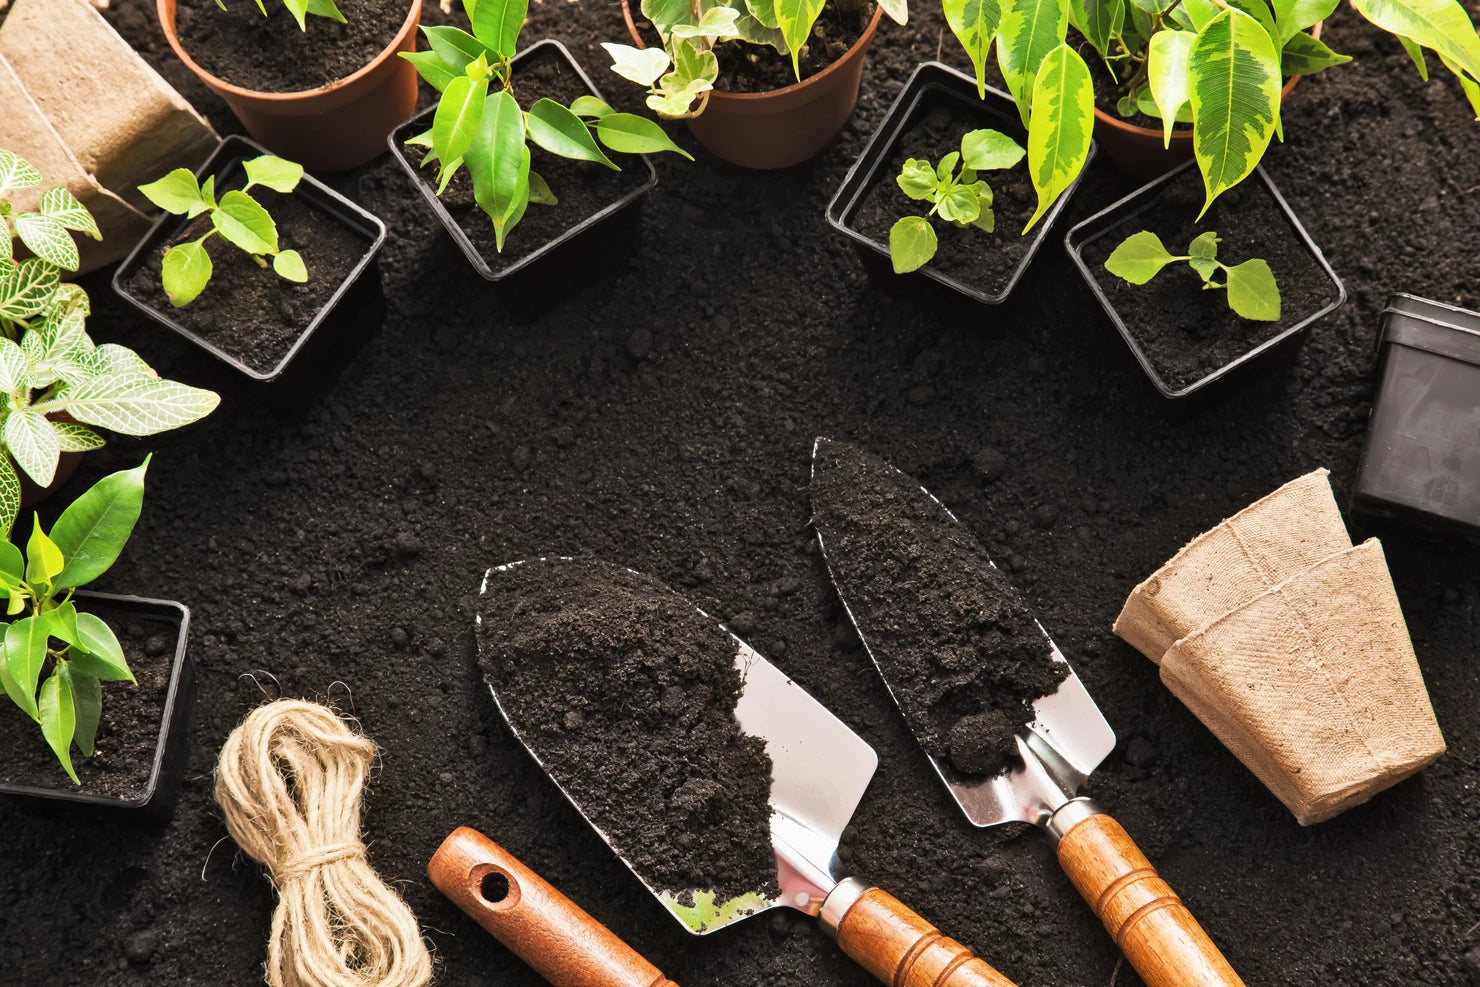
Equipment - Tools and Materials You Will Need

1- Propagating ZZ Plants With Stem Cuttings

ZZ plant propagation is easy with stem cuttings. This method works for all plant sizes and produces reliable results.
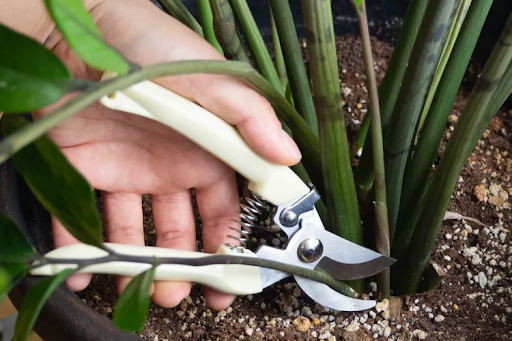
Step 1: Take a Healthy Cutting
Use clean and sharp scissors or pruners. Then, cut a healthy stem near its base with scissors or pruners. Choose a strong stem without any damage or discoloration. A long, sturdy stem works best for propagation.
Step 2: Place the Cutting in the Water
Fill a clear glass jar with water, ensuring it covers about 2 inches of the stem. Place the cutting in the jar.
Put the jar somewhere that receives bright, indirect light. A windowsill or similar spot is ideal. Replace the water every 1–2 weeks. It will keep the cutting clean and fresh. Thus, it helps prevent bacteria buildup.
Step 3: Watch for Roots
Roots and small rhizomes will start forming after a few months. Be patient, as it often takes 3–4 months. Let the roots grow to at least an inch before moving to the next step.
Step 4: Transfer to Soil
When roots are ready, plant the cutting in well-draining soil. A small pot works well for this stage.
Gently press the cutting into the soil to keep it steady. Water the soil thoroughly until water drains out of the pot.
Step 5: Care for Your New Plant
Place the potted plant in bright, indirect light. Water only when the soil is arid. ZZ plants don’t need much water and are low maintenance.
That’s all about this method! Next, look at another method to propagate the ZZ plant.
Give Your Home a Green Touch & Enjoy Upto 20% Discounts!
View Collection2. Propagating ZZ Plants With Leaf Cuttings

Is your plant small and has fewer stems? Growing ZZ plants with leaf cuttings is ideal. This propagation method takes time. But watching the progress makes it worthwhile.
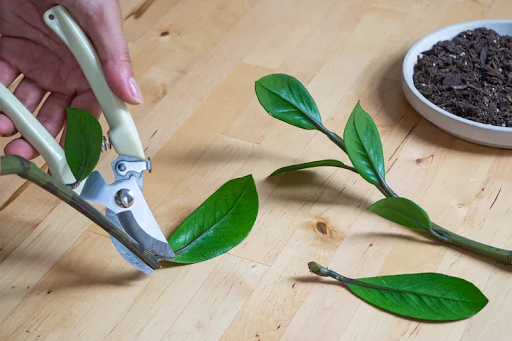
Step 1: Take Healthy Leaf Cuttings
Pick healthy, firm leaves from your ZZ plant. Use clean and sharp scissors or pruning shears to cut leaves. Cut them close to the stalk and try to add a small piece of the stem.
Take 3 to 5 leaves at once for better results. Not every leaf will grow roots. So, having many cuttings increases your chances of success.
Step 2: Plant Cuttings in Soil
Now, fill a small pot or shallow tray with well-draining potting soil. Gently press the base of each leaf into the soil. This will expose the top part. Place the leaves evenly so they have enough space to grow.
Water the soil lightly. Keep the soil slightly damp. But avoid soaking it, as excess water can lead to rot. Place the pot in a warm spot with indirect and bright light, like a windowsill.
Step 3: Care for the Cuttings
Allow the soil to become arid before watering again. Consistent care is vital as cuttings take time to root. Roots and rhizomes usually take 3 to 4 months to appear at the base.
Step 4: Watch for Shoots
After a few months, you’ll see small roots and shoots forming. Keep watering when the soil becomes arid. Be patient! Growth happens slowly, but the results are worth it.
Step 5: Repot the New Plants
Once the roots and shoots are stronger, move the young plants to a larger pot. Use fresh, well-draining potting soil.
While this method takes longer, propagating ZZ plants with leaf cuttings is a rewarding process. With care and patience, you’ll soon enjoy new plants. Next, let’s discuss the other potential method for multiplying your ZZ plant.
3. Propagating ZZ Plants by Division
Want to multiply your collection? Dividing ZZ plants is a simple way. This method is the best for mature plants with several stems and rhizomes. It’s a great choice to reduce the size of a large ZZ plant or grow new ones.
Step 1: Remove the Plant From Its Pot
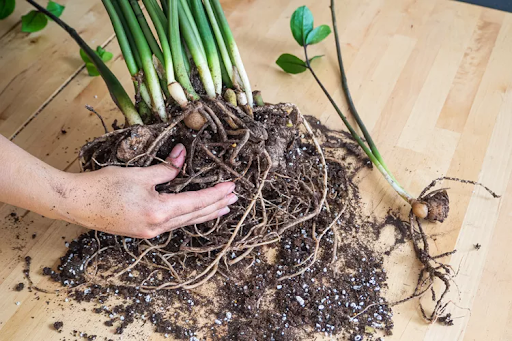
First, take the ZZ plant out of its pot. Lay the plant on its side. Then, gently wiggle the pot off the roots. You can also hold the stems near the base and pull the pot off. But ensure not to damage the roots.
Step 2: Separate the Rhizomes

So far, your plant is out of the pot. Find natural separations in the rhizomes. Gently pull apart the clumps with your hands. Take care not to break too many roots, as this will help the new sections grow better once repotted.
Step 3: Repot the Divided Sections
.png)
After separating the rhizomes, place each section in a separate pot. Use a well-draining soil. Avoid putting roots in excess water. Also, the pot must have drainage holes. They will help prevent water buildup. You can go for plastic or terracotta pots. Set the pots in a bright spot with indirect light.
Step 4: Water and Care
Once the plants are repotted, water them thoroughly. Allow excess water to drain. Keep them in a warm area with plenty of indirect sunlight. Water again only when the soil feels dry. The new plants may require some time to settle in. But with regular care, they’ll grow strong.
Dividing ZZ plants is an easy way to grow your collection faster. It's a quick process that helps you create new plants without any hassle.
After propagating, ZZ plant care matters the most. Next, look at how to care for this striking plant.
Part 3. How Do You Care for Your ZZ Plant?

Caring for a ZZ plant is simple. Consider the following points to offer the best care to your ZZ plant.
Tip 1: Boost Growth with Balanced Fertilizer
Wondering how to make ZZ plant grow faster? Give the plant ZZ some balanced fertilizer every six months to help it grow. Be careful not to go overboard. Excessive fertilizer can harm the plant.
Tip 2: Keep It Neat with Regular Trimming
Prune the ZZ plant by taking off any old or yellow leaves. Keeping the plant tidy promotes fresh growth. Use sharp scissors for cutting.
Tip 3: Repotting for Healthier Growth
Check for signs that the plante ZZ requires a bigger pot. For example, if you notice roots crowding the drainage holes. Repotting is easy. Just follow these steps:
- Get a bigger pot.
- Remove the plant from its old pot.
- Cut away any long or decayed roots.
- Put the plant in the new pot. Use soil that drains well and is fresh.
- Water the plant gently to help the soil settle.
When you grow a ZZ plant, you may face some issues that affect its growth. Let’s look at those issues and their simple solutions.
Part 4. Why You Should Have a Plante ZZ?
Numerous benefits exist, both in terms of aesthetics and psychological health. The plante ZZ cleans indoor air. It absorbs dangerous air pollutants like xylene and toluene, which helps clean the air.
Having a ZZ plant indoors can enhance the appearance of your space and uplift your mood. Green leaves add a natural feel to any room, helping you relax and reduce stress. They require little attention, which is perfect for those with a busy schedule or who are new to plant care.
Propagating this plant requires utmost attention and care. Next, let’s look at the optimal conditions for growing a ZZ plant.
Part 5. Common ZZ Plant Problems and Simple Fixes

Your ZZ plant can face the following issues. However, you can easily manage them by following the fixes mentioned below.
Problem 1: Pests and Diseases
ZZ plants may attract pests like aphids, mealybugs, and spider mites.
Wipe the leaves with a damp cloth regularly to keep bugs away. Use neem oil or insecticidal soap to treat affected areas. Overwatering can lead to root rot, so ensure the soil drains well and avoid excessive watering. Also, plant probiotics can be used to kill diseases and feed plants.
Problem 2: Overwatering and Drooping Leaves
Too much water can cause leaves to droop or roots to rot. Let the soil dry completely between waterings to help the plant recover. Use pots with proper drainage to prevent water buildup.
Problem 3: Yellowing Leaves
Yellow leaves usually signal overwatering or insufficient light. Move the plant to an area with bright, indirect light. Adjust your watering schedule to avoid waterlogged soil.
Problem 4: Slow or No Growth
If your ZZ plant isn’t growing, check for stress signs like wilting or stunted growth. Ensure it receives enough light, water, and well-draining soil. Fertilize twice a year to encourage healthy growth.
Also, it’s important to clean the plant tools before applying. By identifying issues early and making small adjustments, you can keep your ZZ plant thriving.
In summary
The ZZ plant is ideal for beginners and experts alike. It needs low light and easy care. The right soil and water are key for proper ZZ plant care. Regular care keeps it healthy. It also purifies the air and improves your space. A plante ZZ adds beauty and clean air with minimal effort. Enjoy its benefits with ease.
Part 6. FAQs on ZZ Plant :
Can you grow a ZZ plant from a cutting?
Yes! You can grow a ZZ plant by cuttings. Cut a healthy stem. Then, place it in water or soil for this. With time, it will develop roots. Be patient! Your plant can take a few months before it’s fully ready to repot.
Can you propagate a ZZ plant from a broken stem?
Yes! A broken ZZ plant stem can still grow. Cut the healthy part and place it in water or soil. It will grow roots and finally become a new plant.
Can ZZ plants grow in water permanently?
ZZ plants can grow in water for a short time. But they grow better in soil. While they can form roots in water, soil provides the nutrients for long-term growth.
When should I divide my ZZ plant?
Divide your ZZ plant when it becomes too large than pot or becomes crowded. The perfect time to do this is during spring or early summer. The plant grows actively during this season.


 ZZ Plant
  ZZ Variegated Plant